
QUICK TIP:
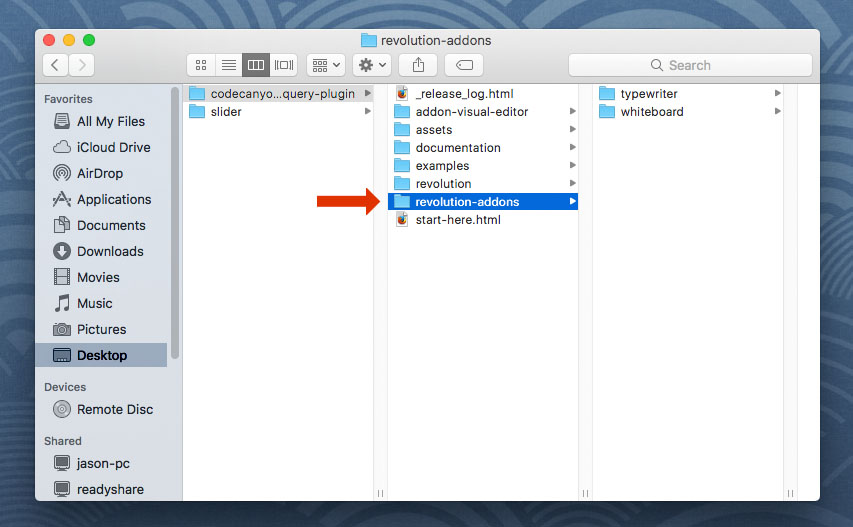
To get started with the Countdown Add-On, first add the "revolutions-addons" folder into your production site:
Next, add the Countdown script. The script should placed below all other scripts on the page.
<!-- COUNTDOWN SCRIPT -->
<script type="text/javascript" src="revolution-addons/countdown/js/revolution.addon.countdown.min.js"></script>
Next, assign a variable to your slider's main settings script as shown in the following example.
var slider = jQuery('#rev_slider_1').show().revolution({
/* ******************** */
/* SLIDER SETTINGS HERE */
/* ******************** */
});
Then set a date to countdown to and initialize the Countdown AddOn:
Review the code comments for adjusting the “targetdate” and “slidechanges” variables to complete the countdown setup.
var slider = jQuery('#rev_slider_1').show().revolution({
/* ******************** */
/* SLIDER SETTINGS HERE */
/* ******************** */
});
// the number 864000000 below represents a future date
// the following online tool can be used to convert your desired date into a number (the epoch timestamp)
// http://www.freeformatter.com/epoch-timestamp-to-date-converter.html
var targetdate = new Date().getTime() + 864000000
// choose which slide to show at any given point in time
var slidechanges = [{days: 0, hours: 0, minutes: 0, seconds: 0, slide: 2}];
// example with multiple slide changes:
/*
var slidechanges = [
{days: 0, hours: 0, minutes: 0, seconds: 12, slide: 2},
{days: 0, hours: 0, minutes: 0, seconds: 0, slide: 3}
];
*/
// initalize the countdown
tp_countdown(slider, targetdate, slidechanges);
Finally, set up your CountDown Layers
To get started, add 4 Text Layers to your slide, each representing the "days", "hours", "minutes" and "seconds":
And then apply the following "id" attributes to each of the 4 Layers:
- t_days
- t_hours
- t_minutes
- t_seconds
Example with "t_days" applied as the Layer's id attribute, designating the Layer as the countdown's "days" widget. Repeat this for each of the 4 Layers using the id attributes above.
<!-- "t_days" added as the Layer's ID attribute -->
<div id="t_days" class="tp-caption tp-resizeme largewhitebg"
data-frames='[{"delay": 500, "speed": 300, "from": "opacity: 0", "to": "opacity: 1"},
{"delay": "wait", "speed": 300, "to": "opacity: 0"}]'
data-x="center"
data-y="center"
data-hoffset="0"
data-voffset="0"
data-width="['auto']"
data-height="['auto']"
>00</div>
<!-- END TEXT LAYER -->