Slider Template Setup
1. Initial Setup
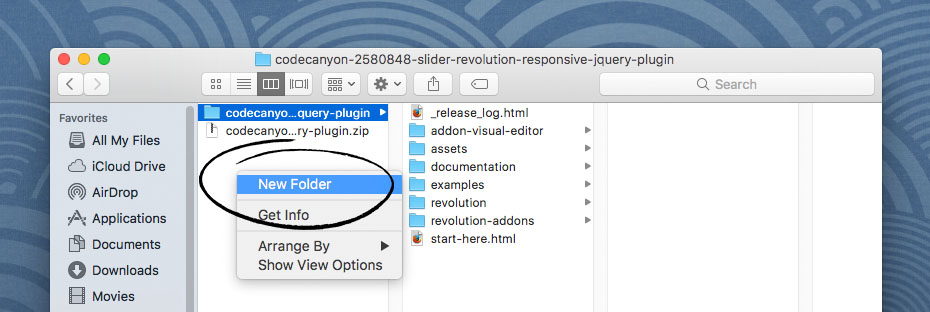
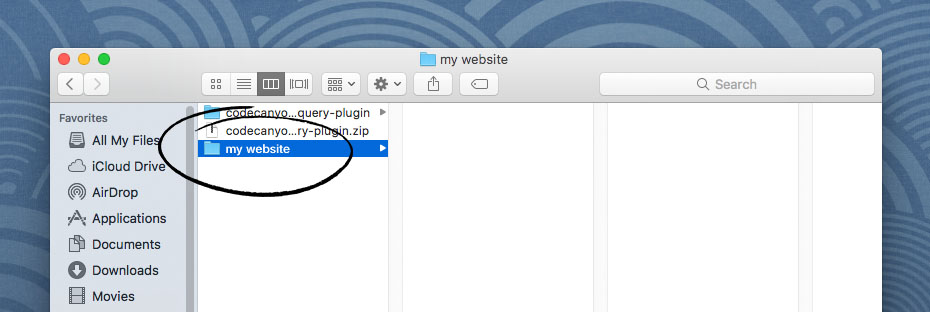
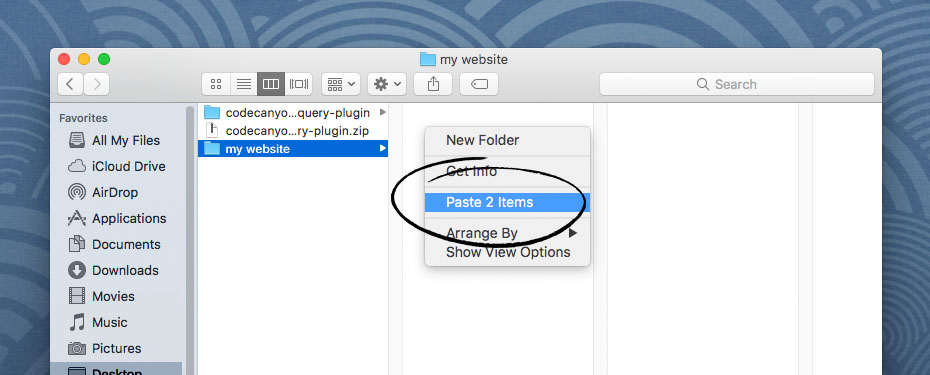
1.1 Create a new folder
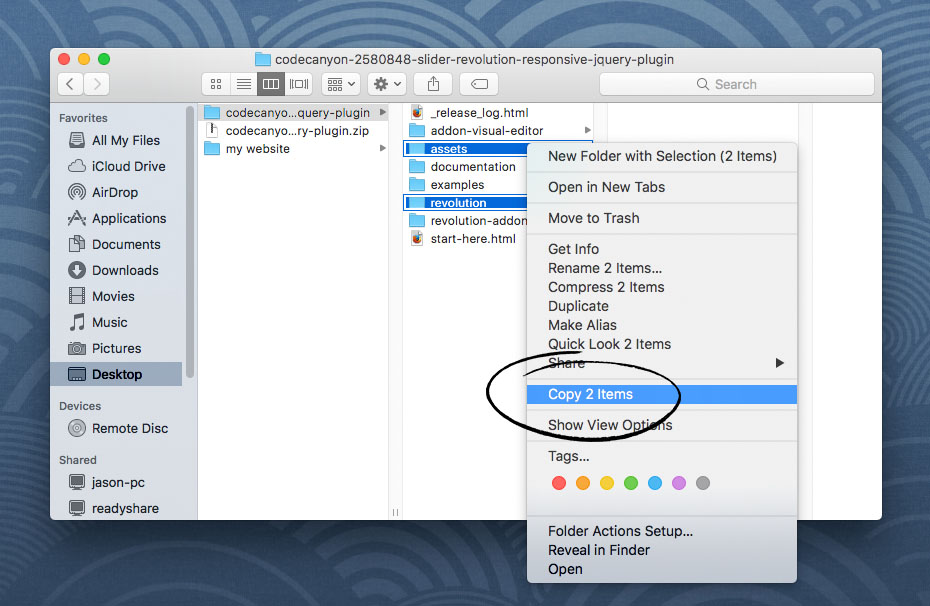
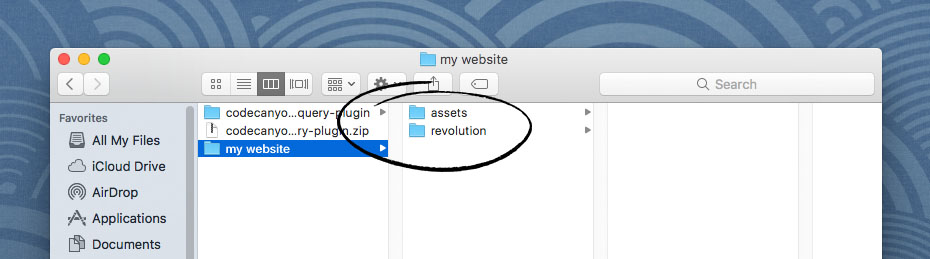
1.2 Copy the "revolution" and "assets" folders over to your new folder
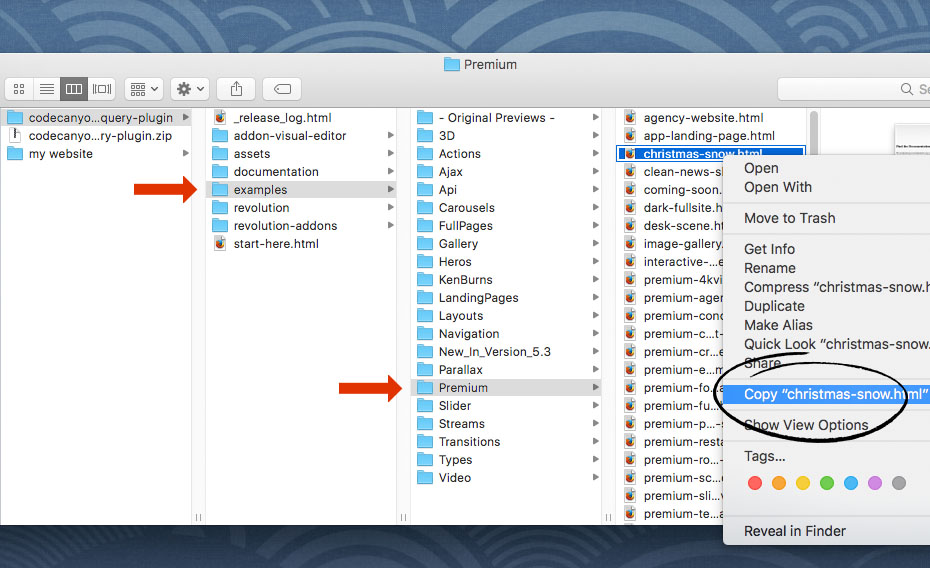
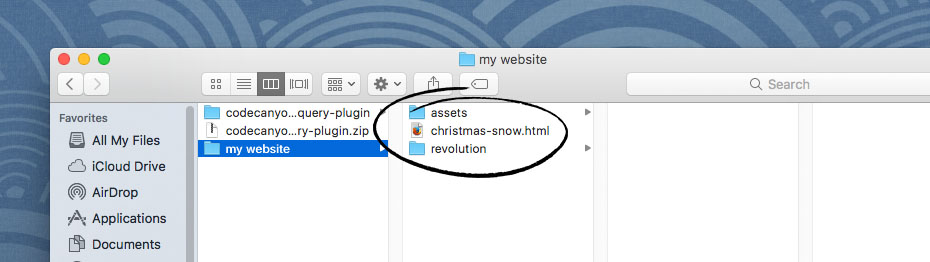
1.3 Copy the HTML template file you'd like to work with into your new folder
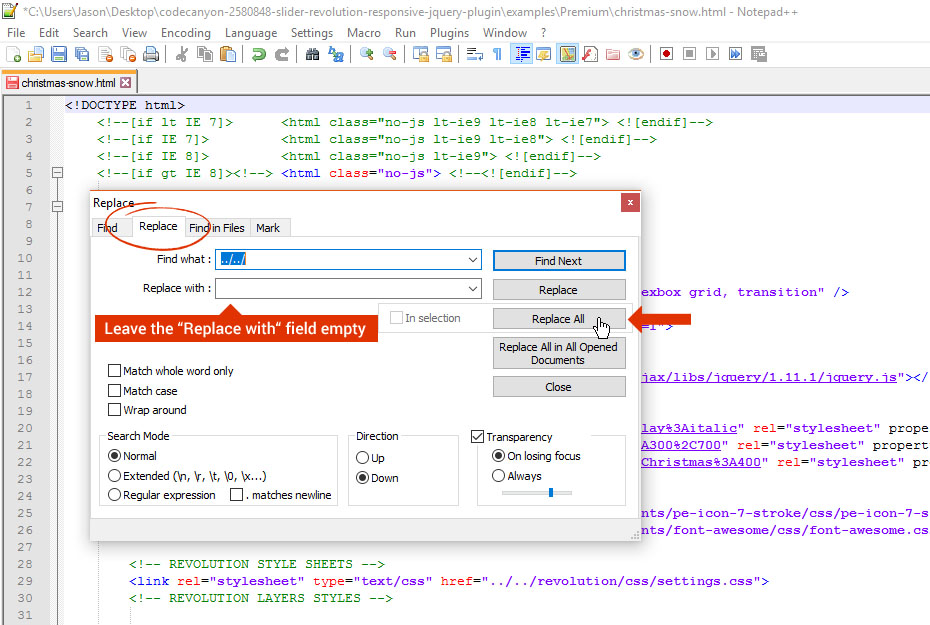
1.4 Open the HTML template file in your favorite text editor, and do a global search and replace to adjust the CSS, JavaScript & Image paths
Replace the two trailing paths for all urls, turning this local path for the "src" attribute:
<script type="text/javascript" src="../../revolution/js/jquery.themepunch.revolution.min.js"></script>
Into this, for all urls:
<script type="text/javascript" src="revolution/js/jquery.themepunch.revolution.min.js"></script>
Example search and replace using Notepad++
1.5 Open the template HTML file in your browser to preview your new setup.
Important Note
2. Deploy Online
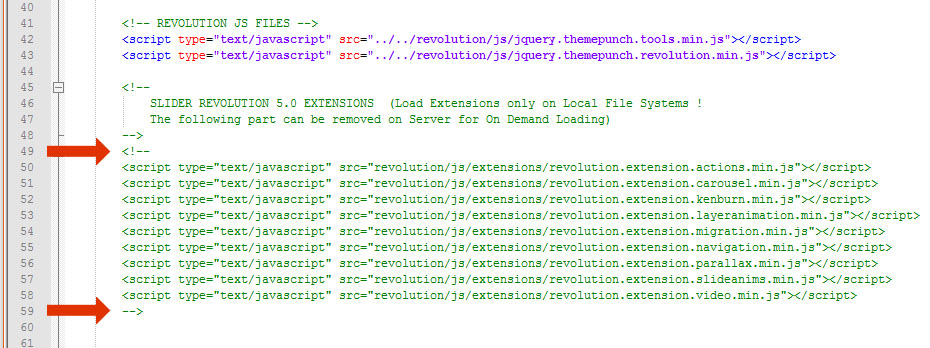
When you're ready to upload your website online, or move your setup to a localhost, comment out or remove the extension scripts, where this:
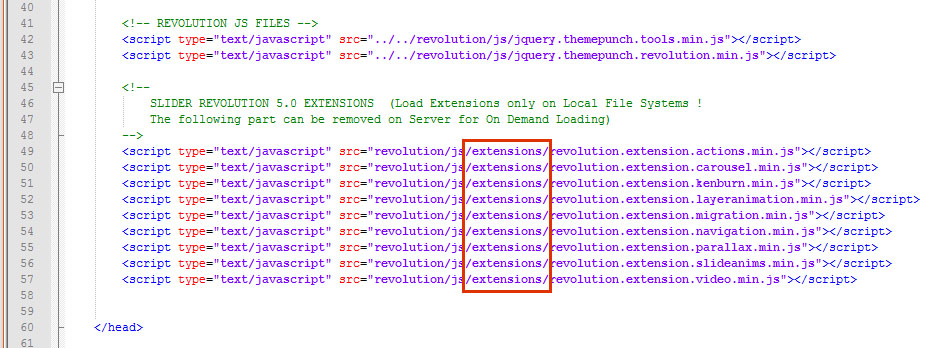
.. is changed to this: