Table of Content
Important Notice
Also useful knowledge for adding a MailChimp form to any Slider Revolution module. Not only for hero scenes!
Step 1
Import the Newsletter Hero template:
More information on how to install Slider Revolution Templates: /documentation/template-library/
Step 2
Swap out the form’s HTML with your own MailChimp embed code
2.1 Prepare to edit the form’s HTML
Select the Form layer by clicking on it directly or via the timeline.

Curious why the form looks different in the editor?
Some CSS formatting has been added to the slider’s Custom CSS section, and this CSS will only render on the frontend of your site. The Custom CSS added does not need to be edited.
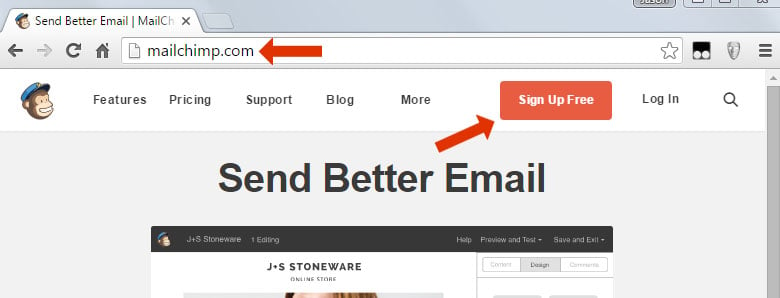
2.2 Sign up for MailChimp

2.3 Create a List

2.4 Click the “Signup Forms” link

2.5 Click the “Embedded Forms” option

2.6 Choose “Super Slim”

2.7 Replace the “form action” part of the original embed code as shown in the video screencast below.


